Are you one of the countless iPhone 6 Plus users struggling with a unresponsive touchscreen or frustrating “touch disease” issues? You’re not alone. This prevalent problem has left many owners seeking reliable solutions to revive their devices. But what if we told you there’s a way to fix these screen malfunctions quickly and affordably?
In this comprehensive guide, we’ll uncover the secrets behind the iPhone 6 Plus touch IC crisis and provide you with a step-by-step roadmap to tackle these annoying screen problems head-on. Whether you’re a tech-savvy DIYer or prefer professional assistance, we’ve got you covered. Get ready to regain full control of your iPhone 6 Plus and say goodbye to those pesky touch screen woes for good.
Key Takeaways
- Understand the common symptoms of iPhone 6 Plus touch disease and how it progresses over time
- Discover the root causes behind touch IC failures and what you can do to prevent future problems
- Learn about the essential tools and materials required for a successful touch IC repair
- Follow our step-by-step guide to diagnose and repair your iPhone 6 Plus touch IC issues
- Explore cost-effective DIY repair options as well as professional repair services
Understanding iPhone 6 Plus Touch Disease Symptoms
Common Signs of Touch IC Failure
One of the primary indicators of touch disease is intermittent or unresponsive touch input. Users may experience a multitouch issue, where the screen fails to register multiple touch points simultaneously. Additionally, the display may become unresponsive to taps or gestures, making it difficult to navigate the device.
How Touch Disease Progresses Over Time
The touch disease issue typically starts with subtle symptoms, such as occasional screen freezes or flickering. Over time, the problem worsens, leading to more frequent and persistent touch input issues. In severe cases, the screen may become completely non-functional, rendering the device unusable.
Impact on Device Functionality
The iPhone 6 Plus screen replacement becomes necessary when the touch disease issue significantly impairs the device’s functionality. Users may find it challenging to perform basic tasks, such as unlocking the device, typing on the keyboard, or navigating through apps. This can severely limit the overall usability and productivity of the iPhone 6 Plus.
By recognizing the early signs of touch disease and understanding its progression, users can make informed decisions about seeking professional repair or considering alternative solutions to maintain the functionality of their iPhone 6 Plus.
What Causes iPhone 6 Plus Touch IC Problems
The iPhone 6 Plus, released in 2014, is a powerful and popular smartphone, but it has faced a common issue known as “touch disease” or “touch IC problems.” This problem can lead to various display-related malfunctions, including unresponsive touch screens and display flickering. Understanding the root causes of these touch IC issues is crucial for finding effective solutions.
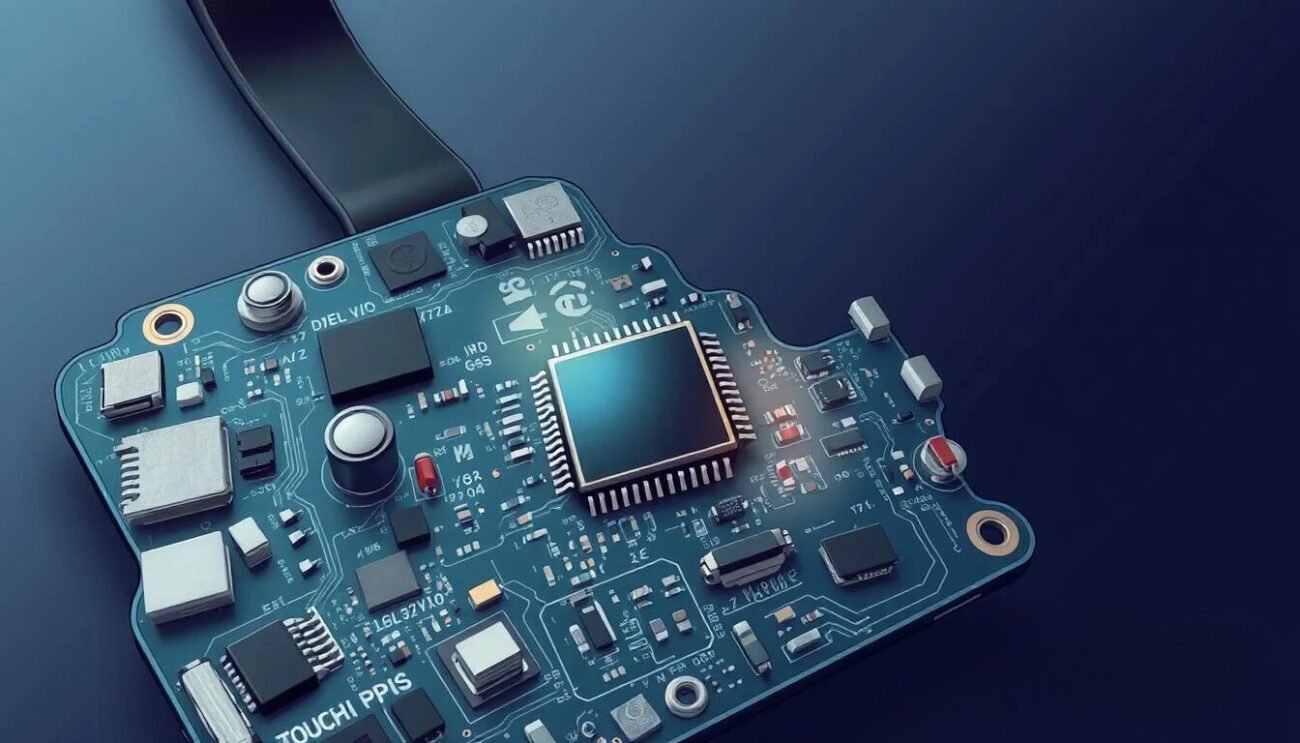
One of the primary culprits behind touch IC problems in the iPhone 6 Plus is a hardware defect. The touch-sensitive integrated circuit (touch IC) chip, which is responsible for processing touch input, can experience design flaws or manufacturing defects. These defects can cause the touch IC to fail prematurely, leading to the dreaded touch disease symptoms.
- Poor soldering quality during the manufacturing process can result in weak connections between the touch IC and the device’s logic board, leading to intermittent touch screen issues.
- Physical stress and flexing of the device’s display assembly can cause the touch IC to become dislodged or crack over time, resulting in touch screen malfunctions.
- Excessive heat and temperature changes can also contribute to the deterioration of the touch IC, further exacerbating the problem.
In addition to hardware-related causes, touch IC problems in the iPhone 6 Plus can also be attributed to software and firmware issues. Compatibility problems between the touch IC and the device’s operating system, as well as improperly executed software updates, can disrupt the communication between the touch IC and the display, leading to touch screen problems.
Addressing the root causes of touch IC problems in the iPhone 6 Plus is crucial for restoring the device’s functionality and preventing future issues. Proper repair techniques, such as touch IC replacement or display assembly fixes, can effectively resolve these problems and extend the lifespan of the device.
Essential Tools and Materials for Touch IC Repair
Fixing the touch IC issue on an iPhone 6 Plus requires a specific set of tools and materials. Proper equipment and safety measures are crucial for a successful repair process. Let’s explore the essential items you’ll need to address the iPhone 6 Plus touch IC problem effectively. If you’re also experiencing other screen-related issues, such as display message problems, check out our guide on how to fix iPhone display message problems for additional troubleshooting tips.
Professional Repair Equipment List
To undertake the iPhone 6 Plus touch IC repair, you’ll need the following professional-grade equipment:
- Precision screwdriver set
- Soldering iron and solder
- Desoldering pump or braid
- Microscope or magnifying glass
- Multimeter for electrical testing
- ESD-safe workstation and mat
Safety Gear Requirements
Ensuring your safety during the repair process is of utmost importance. Make sure to have the following safety gear on hand:
- Anti-static gloves
- Safety goggles
- Dust mask or respirator
- Proper lighting and ventilation
Recommended Replacement Parts
Along with the tools, you’ll need to have the appropriate replacement parts ready. For the iPhone 6 Plus touch IC repair, consider the following:
| Part | Description | Recommended Model |
|---|---|---|
| Touch IC Chip | The main component responsible for the touch functionality | U2402 Touch IC Chip |
| Digitizer Cable | The cable that connects the touch screen to the logic board | iPhone 6 Plus Digitizer Cable |
| Replacement Screen | A complete replacement screen assembly | iPhone 6 Plus Screen Replacement |
By having the right tools, safety gear, and replacement parts on hand, you’ll be well-equipped to tackle the iPhone 6 Plus touch IC repair efficiently and safely.
Diagnosing iPhone 6 Plus Touch IC Issues
Identifying the root cause of your iPhone 6 Plus touch screen problems is crucial for determining the appropriate repair approach. From software tests to physical inspections, there are several diagnostic methods you can employ to pinpoint touch screen repair needs and multitouch issue sources.
One of the first steps in the diagnostic process is running software-based tests. Download a dedicated touch screen diagnostic app from the App Store and follow the in-app instructions to assess your device’s touch responsiveness. These apps can help you identify areas of the screen that are not registering input accurately.
- Perform a visual inspection of the display, looking for any visible signs of damage, such as cracks, discoloration, or dead pixels.
- Check for touch input inconsistencies by tracing patterns or shapes on the screen and observing how the device responds.
- Examine the phone’s physical condition, paying close attention to the ribbon cable connections and any evidence of liquid damage.
If the diagnostic tests and visual inspections suggest a touch IC issue, the next step is to confirm the diagnosis through more advanced techniques, such as using a multimeter to measure voltages and check for electrical continuity.
“Identifying the root cause of your iPhone 6 Plus touch screen problems is crucial for determining the appropriate repair approach.”
By carefully following a step-by-step diagnostic process, you can gain a clear understanding of the underlying touch screen repair and multitouch issue affecting your iPhone 6 Plus, paving the way for an effective and successful repair solution.
Step-by-Step iPhone 6 Plus Touch IC Repair Guide
Device Disassembly Process
Begin by carefully disassembling your iPhone 6 Plus. This involves removing the display assembly, battery, and other components to access the Touch IC chip. Follow the manufacturer’s instructions closely to avoid any damage to the device’s internal components.
IC Chip Replacement Technique
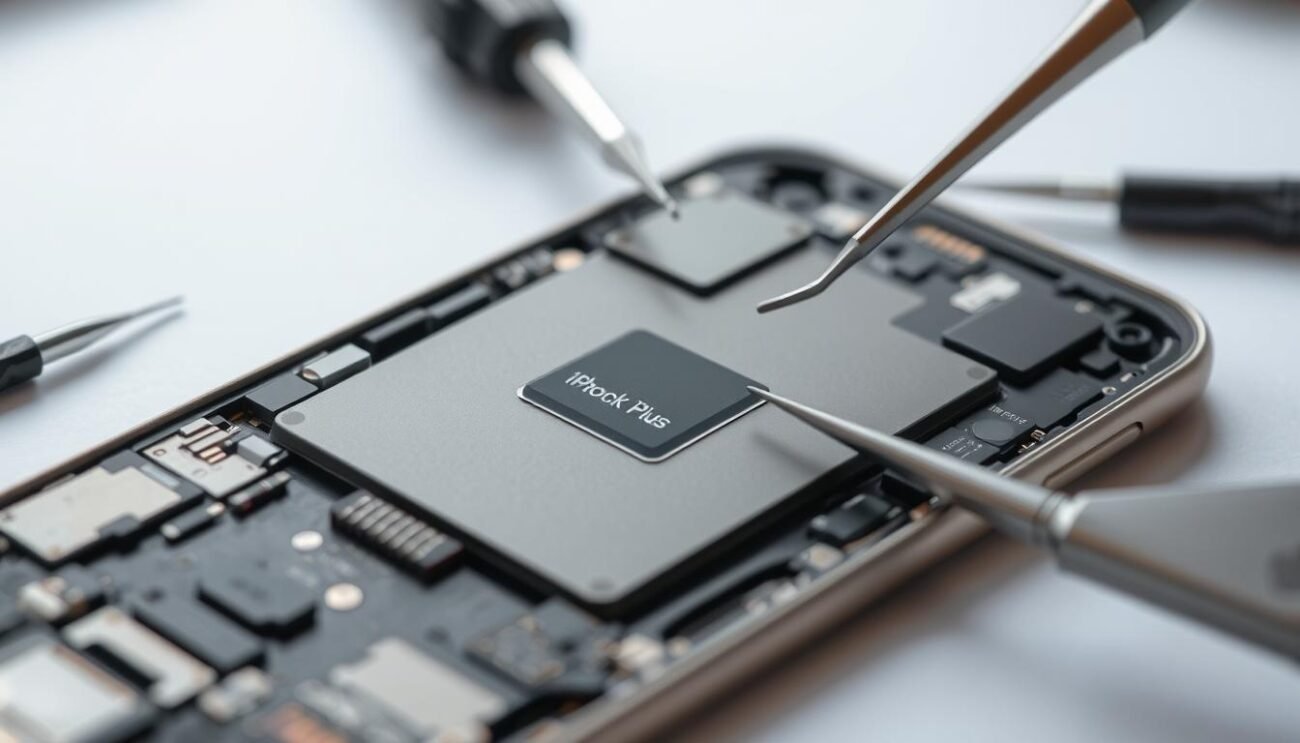
Once you’ve gained access to the Touch IC chip, the next step is to replace it. This requires a steady hand and specialized tools, such as a soldering iron and a microscope. Gently remove the old chip and solder the new one in its place, ensuring a secure connection.
Testing and Verification
After the touch IC replacement, it’s crucial to test the device’s functionality thoroughly. Power on the iPhone 6 Plus and check for any issues with the touch screen, ensuring that it responds accurately to your inputs. If everything is working as expected, you can reassemble the device and return it to its original condition.
Repairing an iPhone 6 Plus with a Touch IC issue requires patience, attention to detail, and the right tools. By following this step-by-step guide, you can save time and money by tackling the repair yourself, rather than relying on a professional iPhone screen repair service.
Cost Comparison: DIY Repair vs Professional Service
When it comes to repairing an iPhone 6 Plus with touch screen issues, you have two main options: attempting a DIY iPhone 6 Plus screen replacement or seeking professional touch screen repair services. Each approach has its own set of considerations, and understanding the cost implications can help you make an informed decision.
To begin, the cost of a DIY iPhone 6 Plus screen replacement can range from $50 to $100, depending on the quality of the replacement parts and the tools required. This option may be appealing for those with some technical expertise and a willingness to invest time in the repair process. However, it’s important to note that improper DIY repairs can lead to further damage, potentially costing more in the long run.
On the other hand, professional touch screen repair services typically range from $100 to $200 for an iPhone 6 Plus. While this may seem more expensive upfront, it comes with the benefits of expert workmanship, the use of genuine replacement parts, and a warranty on the repair. This can provide peace of mind and ensure the longevity of your device.
| Repair Option | Estimated Cost | Advantages | Disadvantages |
|---|---|---|---|
| DIY iPhone 6 Plus Screen Replacement | $50 – $100 |
|
|
| Professional Touch Screen Repair | $100 – $200 |
|
|
Ultimately, the decision between DIY iPhone 6 Plus screen replacement and professional touch screen repair services will depend on your technical skills, budget, and the value you place on the longevity and reliability of your device. Carefully weigh the pros and cons to determine the best option for your specific needs.
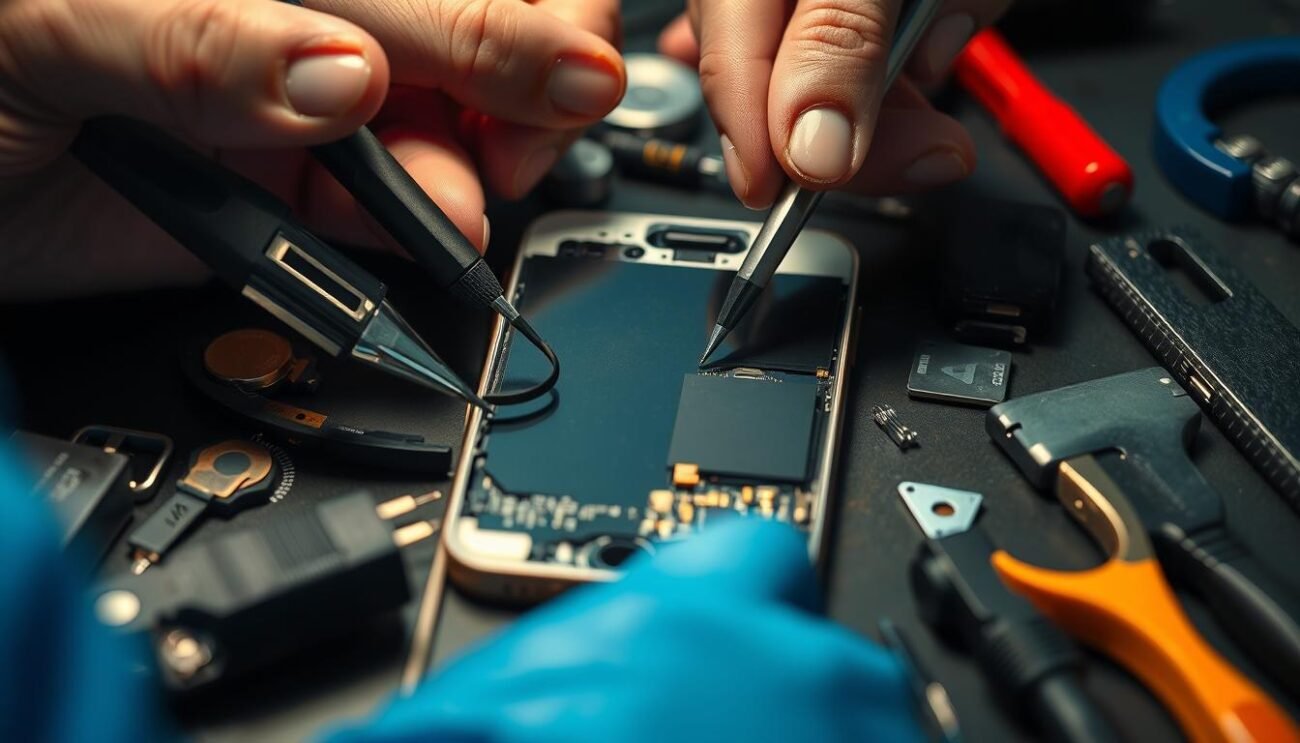
“The cost of a DIY iPhone 6 Plus screen replacement may be lower, but the risk of further damage can outweigh the initial savings.”
Preventing Future Touch IC Problems
While the iPhone 6 Plus touch disease issue can be a frustrating experience, there are proactive measures you can take to prevent future touch IC problems and extend the life of your device. By following these protective steps and maintaining your iPhone, you can avoid the recurrence of this common touch screen malfunction.
Protective Measures
- Use a sturdy, shock-absorbing case to safeguard your iPhone 6 Plus from drops and impacts that can damage the touch IC chip.
- Avoid excessive bending or flexing of the device, as this can put stress on the touch IC and lead to touch disease over time.
- Consider purchasing a tempered glass screen protector to shield the display from cracks and scratches that may compromise the touch functionality.
Maintenance Tips
- Regularly clean the touch screen using a soft, lint-free cloth to prevent buildup of debris that can interfere with touch input.
- Keep your iPhone 6 Plus updated with the latest iOS software, as Apple often releases updates that address touch-related issues and bugs.
- Avoid exposing your device to extreme temperatures, as heat and cold can negatively impact the touch IC and its performance.
By implementing these preventive measures and following proper maintenance practices, you can significantly reduce the risk of touch disease fix and ensure your iPhone 6 Plus touch IC continues to function reliably for years to come.
“The key to preventing touch IC problems is to treat your iPhone 6 Plus with care and respect its delicate internal components.”
Common Mistakes to Avoid During Repair
When it comes to repairing an iPhone 6 Plus with touch IC issues, it’s crucial to be aware of common mistakes that can hinder the process and lead to further complications. By understanding these pitfalls, you can ensure a successful display assembly fix or home button repair, minimizing the risk of additional damage to your device.
1. Improper Disassembly Techniques
One of the most common mistakes is improper disassembly of the device. Rushing through this step or using excessive force can result in the damage of delicate components, making the repair even more challenging. It’s essential to follow the disassembly instructions carefully and take your time to avoid any missteps.
2. Using Low-Quality Replacement Parts
Another common error is the use of inferior or incompatible replacement parts. Opting for cheap, low-quality components can lead to compatibility issues and ultimately compromise the success of the repair. Always source genuine or high-quality display assembly fix and home button repair parts to ensure a smooth and durable solution.
3. Insufficient Cleaning of the Repair Area
Inadequate cleaning of the repair area is also a pitfall that should be avoided. Failing to thoroughly clean the affected area before reassembly can lead to the introduction of contaminants, which can interfere with the proper functioning of the touch IC and the overall device performance.
4. Incorrect Soldering or Reassembly Methods
Improper soldering techniques or careless reassembly can result in further damage, compromising the overall functionality of the device. It’s crucial to follow the repair guide meticulously and double-check your work to ensure a successful outcome.
5. Lack of Proper Testing and Verification
Lastly, neglecting to thoroughly test and verify the repaired device can lead to undetected issues that may arise later. Comprehensive testing is essential to ensure the display assembly fix or home button repair has been completed successfully and the device is functioning as expected.
Inadequate cleaning of the repair area is also a pitfall that should be avoided. Failing to thoroughly clean the affected area before reassembly can lead to the introduction of contaminants, which can interfere with the proper functioning of the touch IC and the overall device performance.
- Improper disassembly techniques
- Using low-quality replacement parts
- Insufficient cleaning of the repair area
- Incorrect soldering or reassembly methods
- Lack of proper testing and verification
Additionally, improper soldering techniques or careless reassembly can result in further damage, compromising the overall functionality of the device. It’s crucial to follow the repair guide meticulously and double-check your work to ensure a successful outcome.
Alternative Solutions and Workarounds
While a professional iPhone 6 Plus Touch IC repair can provide a long-term solution, there are some temporary fixes and alternative options you may consider. These can help mitigate the impact of Touch IC issues until you’re ready to pursue a more comprehensive repair.
Temporary Fixes
One temporary workaround is to use a touch screen stylus, which can provide a more reliable and responsive input method when the device’s touch functionality is compromised. Additionally, some users have found success in gently bending or applying pressure to the device’s display to temporarily restore touch responsiveness, although this should be done with extreme caution to avoid further damage.
When to Consider Device Replacement
In some cases, the cost of repairing an iPhone 6 Plus with Touch IC issues may exceed the value of the device, making a replacement a more practical solution. If your device is out of warranty, the repair costs are prohibitive, or the issue is severely impacting the device’s functionality, it may be worth exploring the option of upgrading to a newer iPhone model. This can provide you with a fresh start and the latest technology, ensuring a more reliable and long-lasting smartphone experience.


