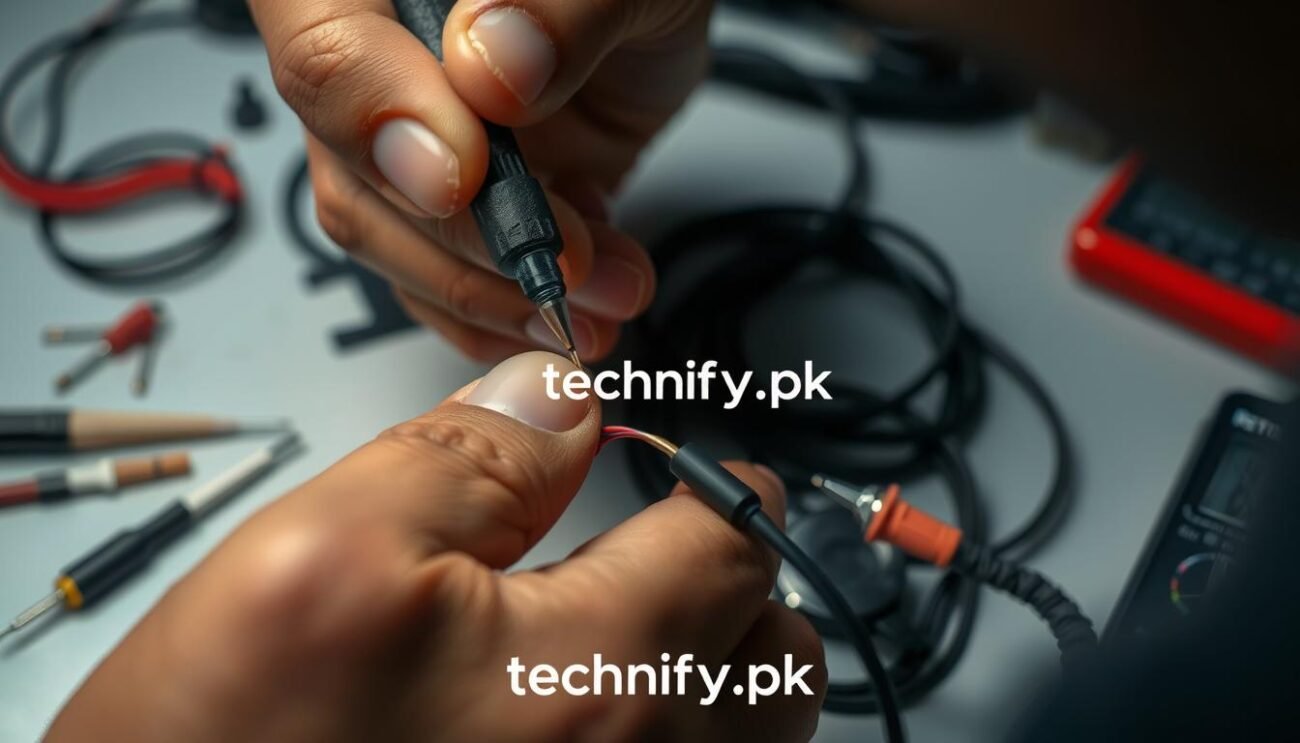
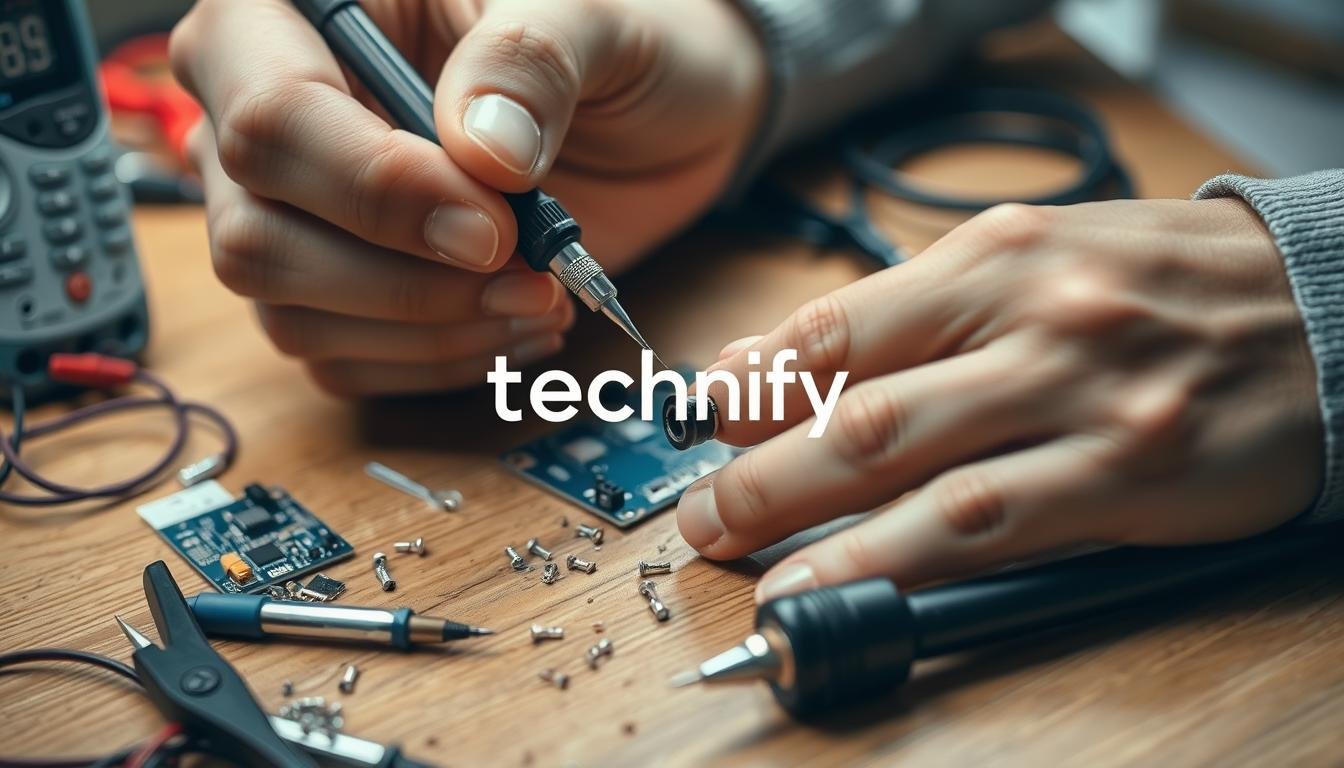
Have you ever been frustrated by a malfunctioning headphone jack, preventing you from enjoying your favorite tunes? You’re not alone. Headphone jack issues are a common problem, but the good news is that many can be resolved with a little DIY know-how. In this comprehensive guide, we’ll explore the intricacies of headphone jack repair, providing you with the tools and techniques to restore your audio connection without the need for professional assistance.
Key Takeaways
- Understand the common causes of latest headphone issues, from physical damage to electrical malfunctions.
- Discover the essential tools and materials required for successful DIY headphone jack repair.
- Learn the step-by-step process for opening the device, accessing the jack assembly, and replacing faulty components.
- Explore advanced soldering techniques to ensure a secure and reliable audio connection.
- Avoid common mistakes that can derail your repair efforts and learn how to effectively troubleshoot after the repair.
So, are you ready to take control of your audio experience and bring your headphone jack back to life? Let’s dive in and uncover the secrets to successful DIY headphone jack repair.
Understanding Common Headphone Jack Issues
Maintaining the audio quality and functionality of your devices is crucial, and one common problem that often arises is headphone jack issues. Whether you’re dealing with intermittent audio, crackling sounds, or a complete loss of signal, understanding the underlying causes can help you address these problems effectively.
Signs of Audio Port Damage
One of the first signs of headphone jack problems is a noticeable decrease in audio quality or intermittent connection. This can manifest as static, distortion, or even complete signal loss when connecting your headphones. Physical damage to the audio port, such as bent or broken pins, can contribute to these issues, disrupting the smooth flow of audio signals.
Types of Jack Malfunctions
- Intermittent Connection: The headphone jack may work intermittently, cutting in and out during use, indicating a potential issue with the internal contacts or wiring.
- Crackling or Distorted Sound: Crackling, popping, or distorted audio can signify a problem with the jack’s internal components, such as worn-out or damaged connectors.
- Complete Signal Loss: In severe cases, a malfunctioning headphone jack may result in a complete loss of audio output, rendering the port unusable.
Impact of Physical Damage
Physical damage to the headphone jack, whether from excessive wear and tear or accidental impact, can have a significant impact on its performance and functionality. Bent or broken pins, dust accumulation, and corrosion can all interfere with the smooth transmission of audio signals, leading to various issues like those mentioned earlier. To avoid these issues, many users opt for wireless gaming headphones, which offer a more reliable and convenient alternative to wired connections, eliminating the risks associated with headphone jack damage.
| Issue | Potential Cause | Impact on Audio Quality |
|---|---|---|
| Intermittent Connection | Worn-out or damaged internal contacts | Inconsistent audio output, cutting in and out |
| Crackling or Distorted Sound | Broken or corroded connectors | Noticeable static, popping, or distortion in the audio |
| Complete Signal Loss | Severe physical damage to the jack | Total loss of audio output from the headphone port |
Addressing these common headphone jack issues is crucial for maintaining the optimal performance and audio quality of your devices. By understanding the signs of damage and the potential impact on sound, you can take proactive steps to diagnose and repair any problems, ensuring a seamless listening experience.
Essential Tools and Materials for Headphone Jack Repair
Tackling headphone port troubleshooting or earpiece socket maintenance can be a delicate task, but having the right tools and materials on hand can make all the difference. Whether you’re dealing with a faulty headphone jack or seeking to restore the functionality of your audio devices, this comprehensive guide will walk you through the essential items needed for successful DIY headphone jack repair.
Necessary Tools for the Job
- Soldering iron and solder – The backbone of any headphone jack repair, a quality soldering iron and lead-free solder are crucial for making secure connections.
- Multimeter – This invaluable tool allows you to test for continuity, voltage, and other electrical properties to diagnose issues with the headphone port.
- Precision screwdrivers – A set of small, specialized screwdrivers in various sizes will help you delicately disassemble the device housing to access the headphone jack assembly.
- Tweezers – Fine-tipped tweezers are essential for handling and manipulating small components during the repair process.
- Magnifying glass or inspection lamp – These aids will help you see the intricate details of the headphone port, ensuring accurate repair work.
Essential Replacement Parts
In addition to the tools, you’ll need the right replacement parts to complete your headphone port troubleshooting or earpiece socket maintenance:
- Replacement headphone jack – Ensure you select a compatible component that matches the specifications of your device.
- Wire and connectors – Have a selection of wires and connectors on hand to make any necessary replacements or modifications.
- Cleaning supplies – Isopropyl alcohol, cotton swabs, and a soft-bristled brush can help clean the port and remove any debris or corrosion.
By assembling this comprehensive toolkit, you’ll be well-equipped to tackle a wide range of headphone jack repair challenges, from diagnosing issues to successfully restoring your audio devices to their former glory.
“The right tools can make all the difference in a successful DIY headphone jack repair.”
Safety Precautions Before Starting Repairs
Electrical Safety Guidelines
When dealing with electronic components, it’s essential to follow basic electrical safety protocols. Disconnect the device from any power sources, such as the charger or battery, to avoid the risk of electrical shocks. Additionally, ensure that your hands are dry and free from moisture to minimize the chances of a short circuit.
Workspace Preparation Tips
- Designate a clean, well-lit, and organized work area to perform the headset plug fix or sound jack overhaul.
- Gather all the necessary tools and materials within easy reach to avoid disruptions during the repair process.
- Ensure the workspace is free from any liquids or flammable materials that could potentially damage the device or pose a safety hazard.
Device Protection Measures
Safeguarding the device during the repair process is crucial to prevent further damage. Invest in a well-padded work surface, such as an anti-static mat, to minimize the risk of electrostatic discharge (ESD) that could harm sensitive electronic components. Additionally, wear anti-static gloves or wrist straps to maintain a proper grounding connection and avoid inadvertently causing ESD issues.
By following these safety precautions, you can ensure a smooth and successful repair experience, minimizing the risks of electrical hazards, device damage, and personal injury. Remember, safety should always be the top priority when working on any electronic device.
Diagnosing Your Headphone Jack Problems
Identifying the root cause of your headphone jack or audio port issues is the first step towards a successful headphone jack repair or audio port fix. By following a systematic diagnostic process, you can accurately pinpoint the problem and determine the appropriate repair approach.
Let’s explore the key steps in diagnosing your headphone jack problems:
- Visual Inspection: Carefully examine the headphone jack for any visible signs of damage, such as bent pins, dust buildup, or corrosion. This can provide valuable clues about the nature of the issue.
- Audio Testing: Plug in a pair of headphones or speakers and test the audio output. If you’re experiencing sound distortion, intermittent connectivity, or no audio at all, it could indicate a problem with the jack.
- Multimeter Examination: Use a multimeter to check the continuity and resistance of the headphone jack’s electrical connections. This can help identify any breaks or short circuits within the audio port.
By following these diagnostic steps, you can accurately pinpoint the specific problem with your headphone jack or audio port, setting the stage for an effective headphone jack repair or audio port fix.

“A thorough diagnostic process is the key to unlocking the solution to your headphone jack woes.”
Step-by-Step Headphone Jack Repair Guide
Opening the Device Housing
The first step in repairing a headphone jack is to carefully open the device housing. This may involve removing screws, clips, or other fasteners to access the internal components. Consult your device’s user manual or manufacturer instructions for specific guidance on the disassembly process.
Accessing the Jack Assembly
Once the housing is open, locate the headphone jack assembly within the device. This may be connected to the mainboard or housed in a separate compartment. Gently disconnect any cables or connectors to fully expose the jack for inspection and repair.
Component Replacement Process
- Inspect the headphone jack for signs of damage, such as bent pins, corrosion, or loose connections.
- If the jack is faulty, carefully remove it from the device using a soldering iron or specialized tools.
- Obtain a replacement headphone jack that is compatible with your device. Align the new jack and secure it in place using solder or adhesive.
- Reconnect any cables or connectors to the jack assembly, ensuring a secure and proper connection.
- Reassemble the device housing, taking care to route cables and components correctly.
Remember to always work in a well-lit, static-free environment and follow all safety precautions when handling electronic components.
With patience and attention to detail, you can successfully restore your earphone socket or headset jack using this step-by-step repair guide. Enjoy your revived audio device and the satisfaction of a job well done!
Advanced Soldering Techniques for Audio Connectors
When it comes to repairing or replacing audio connectors like headphone jacks, the key to achieving professional-level results lies in mastering advanced soldering techniques. These specialized methods go beyond basic soldering skills, allowing you to tackle even the most delicate audio connector repair jobs with precision and confidence.
One of the critical elements in successful audio connector soldering is temperature control. The ideal temperature range for soldering audio wires typically falls between 650-750 °F (343-399 °C). Operating within this sweet spot helps ensure a strong, reliable connection without damaging the sensitive components. Proper wire preparation, including thorough cleaning and tinning, is another essential step that contributes to a high-quality solder joint.
Precise soldering techniques are paramount when working with audio connectors. Using a fine-tipped soldering iron and a steady hand, you can target specific points on the connector without causing collateral damage. Mastering the art of “tinning” the wires, aligning them correctly, and applying the right amount of solder are all part of the skilled approach required for sound jack servicing and audio connector.
| Technique | Description | Importance |
|---|---|---|
| Temperature Control | Maintaining an optimal soldering temperature range (650-750°F/343-399°C) | Ensures a strong, reliable connection without damaging sensitive components |
| Wire Preparation | Thorough cleaning and tinning of audio wires | Facilitates a high-quality solder joint |
| Precision Soldering | Targeted application of solder using a fine-tipped soldering iron | Allows for delicate work on audio connectors without collateral damage |
By mastering these advanced soldering techniques, you can elevate your audio connector repair skills and tackle even the most challenging sound jack servicing projects with confidence. Whether you’re a hobbyist or a professional technician, these specialized methods can make all the difference in achieving flawless, long-lasting results.
Common Mistakes to Avoid During Repair
When it comes to repairing a damaged headphone port or earpiece socket, it’s crucial to be mindful of common pitfalls that can hinder a successful outcome. By understanding these potential missteps, you can ensure a smooth and effective headphone port troubleshooting process.
Wire Connection Errors
One of the most frequent mistakes during headphone jack repair is improper wire connections. Ensuring a secure and accurate reconnection of the wires is essential for restoring audio functionality. Pay close attention to the alignment and orientation of each wire to avoid short circuits or intermittent audio issues.
Soldering Mishaps
Faulty soldering techniques can also lead to problems during earpiece socket maintenance. Inadequate heat application, cold solder joints, or excessive solder can all contribute to connection failures. Take the time to master proper soldering skills to ensure a durable and reliable repair.
Assembly Problems
Reassembling the device after the repair can be a delicate process. Misaligned components, forgotten screws, or improper seating of the housing can cause issues like unwanted rattling or even prevent the device from powering on. Carefully follow the disassembly steps in reverse to ensure a seamless reassembly.
By steering clear of these common errors, you’ll be well on your way to successful headphone port troubleshooting and earpiece socket maintenance, restoring your audio device to its former glory.
| Mistake | Description | Potential Impact |
|---|---|---|
| Wire Connection Errors | Improper alignment or reconnection of wires | Short circuits, intermittent audio issues |
| Soldering Mishaps | Inadequate heat, cold solder joints, excessive solder | Connection failures, audio problems |
| Assembly Problems | Misaligned components, forgotten screws, improper seating | Device malfunctions, physical issues |
Testing and Troubleshooting After Repair
Congratulations on successfully repairing your headphone jack! However, the job isn’t quite done yet. To ensure your hard work pays off, it’s essential to thoroughly test and troubleshoot the repaired audio port before reassembling your device.
Begin by conducting a comprehensive audio quality test. Plug in your headphones and listen for any distortions, static, or muffled sound. If the audio appears clear and crisp, you’re on the right track. If not, it’s time to revisit your repair work and identify any lingering issues.
Next, check the connectivity of the headphone jack. Firmly insert and remove the plug to ensure a snug, secure fit. If the connection feels loose or intermittent, you may need to adjust the jack assembly or replace any worn components.
- Verify the jack’s physical alignment and ensure it’s properly seated within the device’s housing.
- Inspect the solder joints on the jack’s terminals and make any necessary touch-ups.
- Double-check the wiring connections, ensuring they are tight and not damaged.
If your troubleshooting efforts uncover persistent problems, don’t hesitate to revisit the repair process. Carefully retrace your steps, paying close attention to potential sources of error, such as misaligned components or loose connections. With patience and attention to detail, you can achieve a successful headset plug fix and sound jack overhaul.
If you find the repair process too time-consuming, or if your headphones continue to malfunction, you might want to consider upgrading to a set of cheap gaming headphones. Many affordable gaming headphones offer solid sound quality and durability, which can save you time and hassle while still providing a great listening experience.

Remember, thorough testing and troubleshooting are essential to ensuring the long-term functionality of your repaired headphone jack. By taking the time to verify your work, you’ll be able to enjoy uninterrupted audio performance for years to come.
Professional vs DIY Repair Considerations
When it comes to repairing a damaged headphone jack or audio port, you have two options: seeking professional help or attempting the repairs yourself. Each approach has its own set of considerations that can impact the overall cost, risk, and time investment. As you weigh these factors, you’ll be able to make an informed decision on the best course of action for your specific situation.
Cost Comparison
The cost of professional headphone jack repair can vary depending on the complexity of the issue and the service provider. In many cases, the cost of parts and labor for a professional repair may be higher than the price of a new set of headphones or a replacement device. On the other hand, DIY audio port fix projects can often be completed with a minimal investment in tools and supplies, potentially saving you a significant amount of money.
Risk Assessment
Attempting headphone jack repair yourself does come with some inherent risks. If you’re not familiar with the delicate components and procedures involved, you could inadvertently cause further damage to your device, rendering it unusable. Professional technicians, however, have the necessary expertise and experience to minimize the chances of mistakes or additional issues during the repair process.
Time Investment Factors
The time required to complete a headphone jack repair can also be a crucial consideration. DIY projects may take longer, especially if you’re learning the process for the first time. Professionals, on the other hand, can typically perform the repairs more efficiently, potentially saving you valuable time and hassle.
| Repair Option | Cost | Risk | Time Investment |
|---|---|---|---|
| Professional Repair | Higher | Lower | Lower |
| DIY Repair | Lower | Higher | Higher |
Ultimately, the decision to pursue a professional or DIY headphone jack repair will depend on your technical expertise, the severity of the issue, and your personal preferences. Carefully weighing the pros and cons of each approach will help you make the best choice for your specific needs and budget.
Preventive Maintenance Tips
Maintaining your headphone jack can go a long way in preventing costly repairs down the line. Start by handling your audio devices with care, avoiding harsh tugging or bending of the jack. Regular cleaning with a soft, dry cloth can help remove dust and debris that can accumulate over time and interfere with the connection.
When storing your headphones or expensive earbuds, be mindful of the jack’s position. Coil the cable loosely and avoid wrapping it tightly around the device, as this can put unnecessary strain on the connector. Additionally, consider investing in a protective carrying case or pouch to shield the jack from potential impacts or scratches.
For those seeking a more proactive approach, periodic earphone socket replacement or headset jack restoration can help maintain optimal performance and extend the lifespan of your audio equipment. With these simple yet effective preventive measures, you can enjoy uninterrupted music and media experiences for years to come.


