Are your AirPods battery life dwindling, leaving you constantly reaching for the charging case? You’re not alone. As Apple’s wireless earbuds continue to gain popularity, the inevitable issue of battery degradation has become a common concern for many users. But fret not, for a solution is within reach. In this comprehensive guide, we’ll uncover the secrets to reviving your AirPods’ battery performance through a quick and efficient replacement process.
Key Takeaways
- Understand the typical lifespan and performance of AirPods batteries
- Identify the common signs of battery degradation in your AirPods
- Discover the essential tools and materials needed for a DIY battery replacement
- Learn about safety precautions and proper handling of lithium batteries
- Explore the cost differences between DIY and professional battery replacement
- Follow a step-by-step guide to replace your AirPods’ battery successfully
- Troubleshoot common battery issues and maintain optimal battery life
Understanding AirPods Battery Lifespan and Performance
As the popularity of Apple’s AirPods continues to soar, understanding the battery life and performance of these wireless earbuds is crucial. The AirPods battery life is a crucial factor for users who rely on their seamless audio experience throughout the day.
Common Signs of Battery Degradation
Over time, the AirPods battery drain can become more noticeable as the battery health deteriorates. Some common signs of battery degradation include:
- Decreased battery runtime between charges
- Faster battery depletion during use
- Reduced charging capacity or longer charging times
- Inconsistent battery level reporting
Factors Affecting Battery Health
Several factors can impact the overall AirPods battery life and longevity, including:
- Usage patterns: Frequent and prolonged usage can accelerate battery degradation over time.
- Environmental conditions: Exposure to extreme temperatures, both hot and cold, can negatively affect battery performance.
- Charging habits: Overcharging or leaving the AirPods in the charging case when not in use can contribute to faster battery wear.
Expected Battery Longevity
Under normal usage conditions, the AirPods battery life is expected to last for approximately 2-3 years before noticeable degradation occurs. However, with proper care and maintenance, many users have reported extended battery lifespan beyond the initial estimates.
“Maintaining the health of your AirPods’ battery can significantly extend the overall usage lifespan of these wireless earbuds.”
By understanding the factors that impact AirPods battery drain and the expected battery longevity, users can make informed decisions about their usage and maintenance practices to ensure a seamless audio experience for years to come.
Tools and Materials Needed for AirPods Battery Replacement
Replacing the battery in your AirPods can seem daunting, but with the right tools and materials, you can easily tackle this task at home. Whether you’re a seasoned DIY enthusiast or a first-time tinkerer, this comprehensive guide will ensure you have everything you need to revive your AirPods and extend their battery life. If you’re using Apple AirPods with Charging case, it’s important to also consider the condition of the case’s battery, as it plays a crucial role in the overall charging efficiency and longevity of your AirPods. By following this guide, you’ll be able to replace the battery in both the AirPods and the Apple AirPods with Charging case to restore their full functionality.
To get started with your airpods battery replacement guide, you’ll need to gather the following:
- Genuine AirPods replacement battery (available from authorized retailers or directly from Apple)
- Precision screwdriver set (including Pentalobe and Phillips head screwdrivers)
- Tweezers or small pliers
- Isopropyl alcohol (90% or higher) and lint-free cleaning cloths
- Adhesive strips or double-sided tape (optional, for securing the new battery)
It’s essential to use only genuine replacement batteries to ensure compatibility and optimal performance. Counterfeit or low-quality batteries can cause more harm than good, potentially leading to safety issues or further damage to your AirPods.
| Item | Recommended Products | Where to Purchase |
|---|---|---|
| Genuine AirPods Replacement Battery | Apple Genuine AirPods Battery | Apple Store, Authorized Apple Retailers |
| Precision Screwdriver Set | ORIA Precision Screwdriver Set | Amazon, Hardware Stores |
| Isopropyl Alcohol | 91% Isopropyl Alcohol | Pharmacies, Hardware Stores |
With these tools and materials at hand, you’ll be well-prepared to tackle the airpods battery replacement guide and breathe new life into your AirPods. Remember to always follow safety precautions and instructions carefully to ensure a successful and hassle-free battery replacement process.
Safety Precautions Before Starting the Replacement
When it comes to replacing the battery in your AirPods, safety should be your top priority. Lithium-ion batteries, like the ones used in AirPods, can pose significant risks if not handled properly. Before you embark on the battery replacement journey, it’s crucial to familiarize yourself with the necessary safety precautions.
Proper Handling of Lithium Batteries
Lithium-ion batteries are highly sensitive and require special care. Adhere to the following guidelines when handling the AirPods battery:
- Avoid exposing the battery to extreme temperatures, both hot and cold.
- Keep the battery away from water, moisture, and flammable materials.
- Do not attempt to disassemble, puncture, or short-circuit the battery.
- Dispose of the old battery properly, in accordance with local regulations for airpods battery service.
Workspace Preparation Guidelines
Ensure your workspace is clean, well-lit, and free from potential hazards. Consider the following tips to create a safe environment:
- Lay out a clean, anti-static mat or surface to work on.
- Keep the area free of any liquids, heat sources, or sharp objects.
- Maintain good ventilation to prevent the buildup of flammable gases.
Essential Safety Equipment
Invest in the right safety equipment to protect yourself during the airpods battery service process:
- Wear anti-static gloves to avoid static electricity discharge.
- Use a pair of tweezers or precision tools to handle the battery and components.
- Have a fire extinguisher nearby in case of any unexpected incidents.
By following these safety precautions, you can minimize the risks associated with airpods battery service and ensure a successful and secure replacement process.

Cost Analysis: DIY vs Professional AirPods Battery Replacement
When it comes to replacing the battery in your AirPods, you have two options: tackling the task yourself or seeking professional assistance. The decision largely depends on your comfort level with DIY electronics repairs and the potential cost savings. If you’re already familiar with handling tech repairs, like those for your iPhone 14 Pro Max, you might find it easier to replace the AirPods battery yourself. However, if you prefer a hassle-free experience and want to ensure optimal performance, seeking professional assistance might be the better route. Let’s explore the comparative costs of each approach to help you make an informed choice.
DIY AirPods Battery Replacement
The DIY route offers potential cost savings, but it requires some technical know-how and specialized tools. Depending on the specific AirPods model, you can expect to spend around $15 to $25 for a replacement battery kit. This kit typically includes the necessary tools, such as a screwdriver set and a soldering iron. The actual replacement process can be time-consuming and may carry a risk of damaging your AirPods if not performed carefully.
Professional AirPods Battery Replacement
Opting for professional services can provide a hassle-free experience, but it may come at a higher cost. Most authorized AirPods repair centers charge between $49 and $99 for a battery replacement, depending on the model and their labor rates. While this may seem more expensive, it ensures the job is done correctly by experienced technicians, and your AirPods are covered under warranty for the replaced battery.
| Comparison | DIY Replacement | Professional Replacement |
|---|---|---|
| Cost | $15 – $25 | $49 – $99 |
| Time Commitment | 1-2 hours | 30 minutes – 1 hour |
| Skill Level Required | Moderate to High | Low |
| Warranty Coverage | None | Covered for replaced battery |
Ultimately, the choice between DIY and professional airpods battery replacement cost depends on your personal preferences, technical abilities, and the value you place on convenience and warranty coverage. Carefully weigh the pros and cons to determine the best option for your needs and budget.
Step-by-Step AirPods Battery Replacement Guide
Replacing the battery in your AirPods can be a simple process, but it’s important to follow the right steps to ensure a successful and safe experience. In this guide, we’ll walk you through the steps to open the AirPods case, remove the old battery, and install the new one.
Opening the AirPods Case
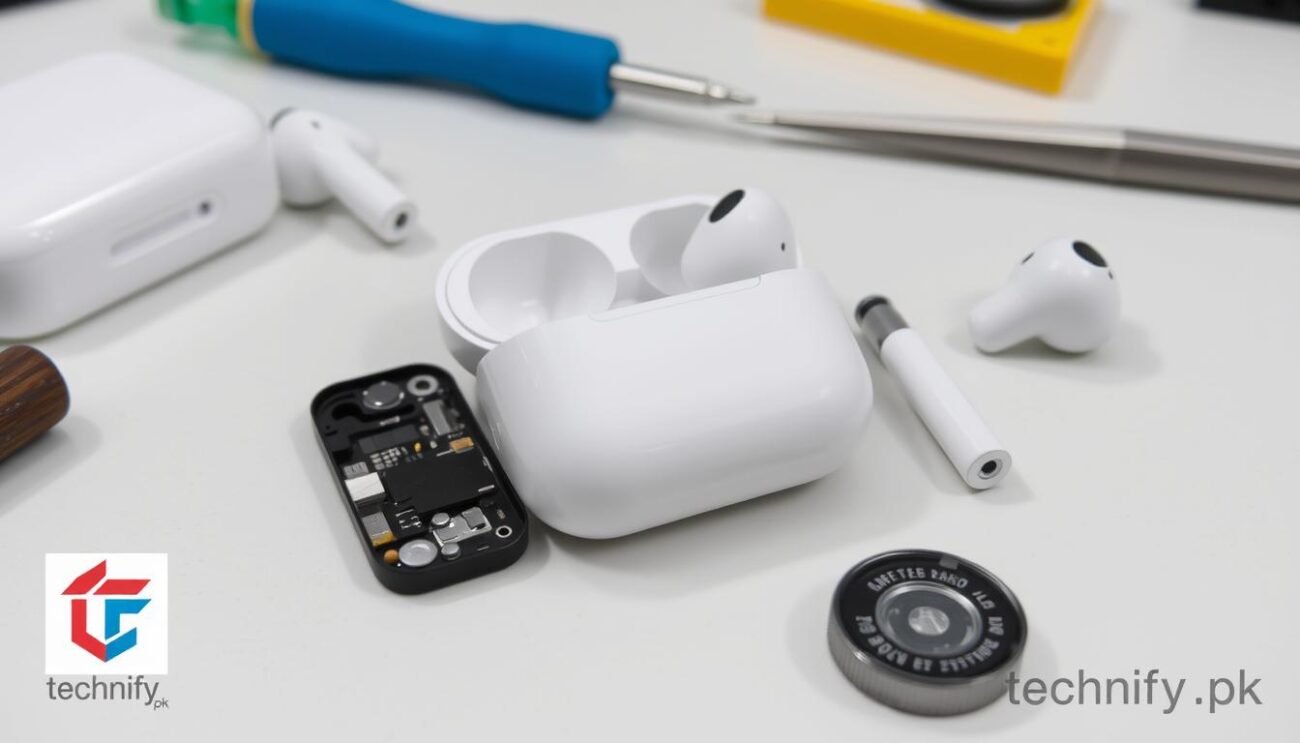
Before you begin, make sure you have the necessary tools and materials on hand. Gently pry open the AirPods case using a small, flat-head screwdriver or a suction cup tool. Be careful not to damage the delicate components inside.
Removing the Old Battery
Once the case is open, locate the battery and carefully disconnect the battery connector. Avoid pulling on the battery’s wires or connector, as this could damage the components. Gently remove the old battery from the case.
Installing the New Battery
Take the new battery and align it with the battery compartment in the AirPods case. Reconnect the battery connector, ensuring it is firmly in place. Carefully tuck the wires back into the case, being mindful not to pinch or damage them.
Reassemble the AirPods case, making sure all the components are properly aligned and secured. Test the new battery by charging and powering on your AirPods. If everything is working correctly, you’ve successfully completed the AirPods battery repair process.
If you feel confident in your repair skills, you might even consider attempting similar upgrades for devices like the latest iPhone 2024, as it’s important to understand the inner workings of your tech.
Remember, always handle lithium-ion batteries with care and dispose of the old battery properly. By following these steps, you can extend the life of your AirPods and keep them performing at their best.
Troubleshooting Common Battery Issues After Replacement
Replacing the airpods battery is a simple task, but it’s essential to ensure the new battery is functioning correctly. Here’s a guide to address potential issues that may arise after the replacement process.
Battery Connection Problems
If your airpods are not charging or connecting properly after the battery replacement, check the following:
- Ensure the battery is securely connected to the airpod’s internal components.
- Verify that the battery connector is clean and free of any debris or damage.
- If the connection seems loose, gently press the battery into place to ensure a tight fit.
Charging Verification Steps
To confirm the new battery is charging correctly:
- Place the airpods in the charging case and check the case’s charging indicator light.
- Monitor the airpods’ battery level in the device’s settings or a compatible app.
- If the airpods are not charging, try a different power source or charging cable.
Performance Testing
After ensuring the battery is properly connected and charging, test the airpods’ performance to verify the replacement was successful:
- Fully charge the airpods and note the estimated battery life.
- Use the airpods for an extended period, monitoring the battery drain rate.
- If the battery life is significantly shorter than expected, the replacement may be faulty, and you may need to repeat the process.
By following these troubleshooting steps, you can quickly identify and resolve any issues that arise after replacing the airpods battery. Proper diagnostics and testing will help ensure your airpods continue to perform at their best.
Maintaining Your New AirPods Battery Life
Preserving the longevity of your freshly replaced AirPods battery is crucial. By adopting a few simple habits, you can maximize the lifespan of your new power source and enjoy uninterrupted audio experiences.
Firstly, prioritize proper charging practices. Avoid overcharging your AirPods by disconnecting them from the power source once they reach full capacity. Additionally, strive to maintain the battery level between 20-80% whenever possible, as this range helps maintain optimal battery health. Regularly calibrating your AirPods by letting the battery fully drain and then charging it to 100% can also contribute to prolonging its lifespan.


