Have you ever faced the frustration of a smartphone that won’t charge? The charging port is a vital component, and when it fails, it can disrupt your daily routine. But fear not, Samsung A10 owners – this comprehensive guide is here to walk you through the simple process of replacing your phone’s charging jack. Discover the easy steps to regain control over your device’s power and keep it running at its best.
Key Takeaways
- Learn how to diagnose and identify common charging port issues on your Samsung A10 smartphone.
- Understand the necessary tools and materials required for a successful charging port replacement.
- Familiarize yourself with safety precautions and best practices to ensure a smooth repair process.
- Follow step-by-step instructions to carefully disassemble your device and locate the charging jack.
- Master the techniques for properly installing the new charging port and reassembling your Samsung A10.
Curious to know how you can breathe new life into your Samsung A10 and restore its charging capabilities? Let’s dive in and explore the easy guide to replacing your device’s charging jack.
Understanding Samsung A10 Charging Port Issues
One of the most common problems users face with their Samsung A10 smartphones is issues with the charging port. A broken charging port can significantly impact your device’s functionality, making it crucial to identify and address the problem promptly. Let’s explore the common signs of charging port damage, how it affects your phone, and the steps to diagnose the issue.
Common Signs of Charging Port Damage
The first indication of a problematic charging port is often inconsistent or unreliable charging. You may notice that your phone takes longer to charge, or it may not charge at all when plugged into a phone charging dock. In some cases, the charging port may appear visibly damaged, with bent or broken pins.
Impact on Phone Functionality
A damaged Samsung A10 charging port can have a significant impact on your phone’s overall functionality. Beyond the obvious issue of not being able to charge the device, it can also prevent you from using other important features, such as data transfer, connecting to external devices, or even accessing certain apps and services that rely on the charging port.
Diagnostic Steps
To determine the extent of the problem and whether a Samsung A10 repair is necessary, it’s important to follow a comprehensive diagnostic process. This may include inspecting the charging port for physical damage, testing the port with a known-working charger, and monitoring the phone’s charging behavior over time. If the issue persists, it’s likely that the charging port itself needs to be replaced.
By understanding the common signs of charging port damage, the impact on your Samsung A10’s functionality, and the steps to diagnose the problem, you can take the necessary steps to address the issue and get your device back to full working order.
Tools and Materials Needed for Replacement
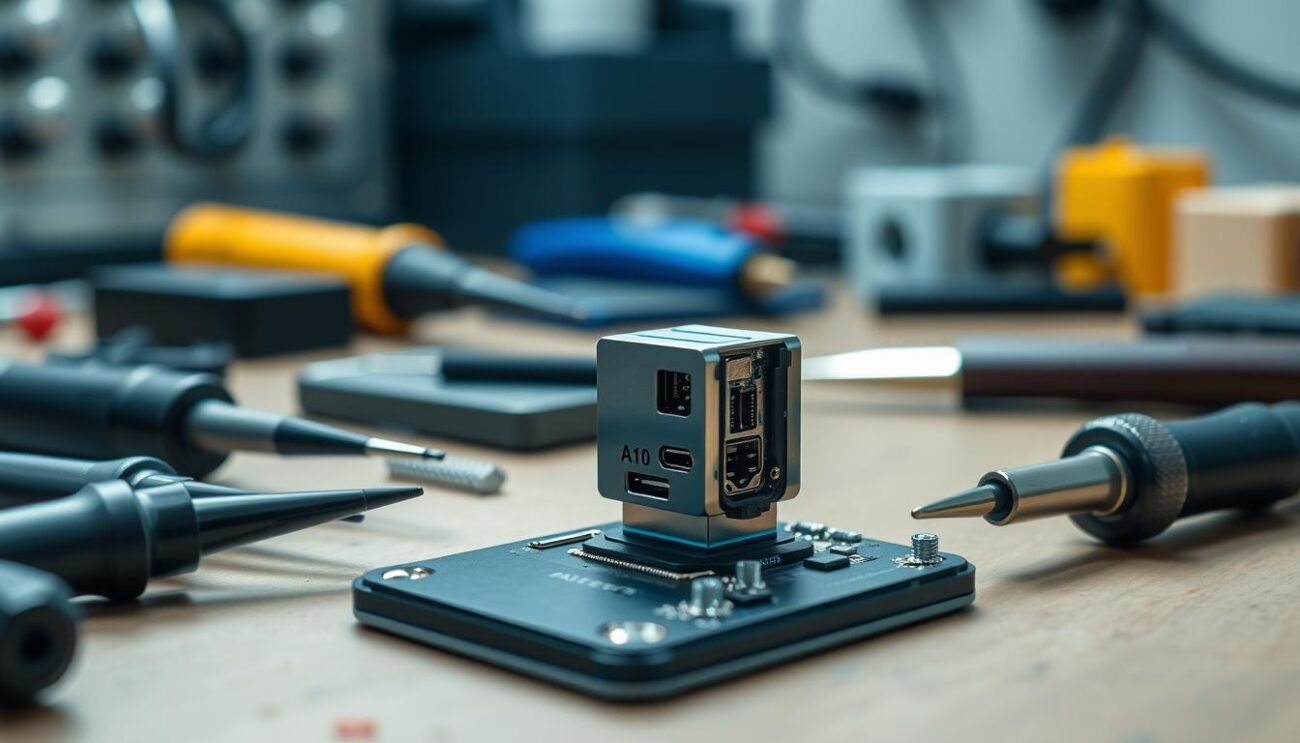
Replacing the charging jack on your Samsung A10 mobile phone requires a specific set of tools and materials. Whether you’re a seasoned technician or a DIY enthusiast, having the right equipment on hand can make the process smoother and minimize the risk of damage to your device. Let’s explore the essential items you’ll need to successfully replace the mobile phone jack, phone jack fix, or usb type c port.
Essential Tools
- Precision screwdriver set (including Torx and Phillips head tips)
- Anti-static mat or work surface
- Tweezers or small tipped pliers
- Soldering iron and solder (for advanced users)
- Multimeter (for testing electrical connections)
Replacement Parts
- Genuine Samsung A10 mobile phone jack or usb type c port replacement
- Thermal paste or adhesive (for securing the new port)
- Cleaning supplies (such as isopropyl alcohol and cotton swabs)
It’s important to source the correct replacement parts for your specific Samsung A10 model to ensure a seamless and successful repair. Refer to your device’s model number and consult with authorized repair centers or reputable online retailers to obtain the appropriate phone jack fix components.
With the necessary tools and materials at your disposal, you’ll be well-equipped to tackle the mobile phone jack replacement process. Remember to exercise caution and follow safety guidelines throughout the repair to protect both you and your device.
Safety Precautions Before Starting the Repair
Before diving into the process of replacing the charging port on your Samsung A10, it’s crucial to take a few safety precautions. Proper handling of the battery and creating a suitable work environment can help ensure a successful and safe repair experience.
Battery Handling Guidelines
When working on your Samsung A10, the first step is to properly disconnect the battery. Carefully remove the battery and store it in a secure location, away from any potential heat sources or conductive materials. Avoid touching the battery terminals directly to prevent short circuits.
Workplace Setup Requirements
- Choose a well-lit, clean, and static-free work area. A desk or table with a smooth, non-slip surface is ideal.
- Ensure the work surface is free of any sharp objects or tools that could damage the sensitive components of your Samsung A10.
- Have the necessary tools and materials within easy reach, such as a screwdriver set, tweezers, and a magnifying glass (if needed).
Static Electricity Prevention
Protecting your Samsung A10 from static electricity is crucial during the repair process. Before handling any components, ground yourself by touching a metal surface or use an anti-static mat to dissipate any built-up static charge. This will help prevent damage to the delicate electronics inside your device.
| Safety Measure | Importance |
|---|---|
| Battery Handling | Prevents short circuits and potential damage to the device |
| Workplace Setup | Ensures a clean, organized, and safe environment for the repair |
| Static Electricity Prevention | Protects sensitive electronic components from electrostatic discharge |
By following these safety precautions, you can minimize the risk of damaging your Samsung A10 during the charging port replacement process and ensure a successful repair.

Disassembling Your Samsung A10
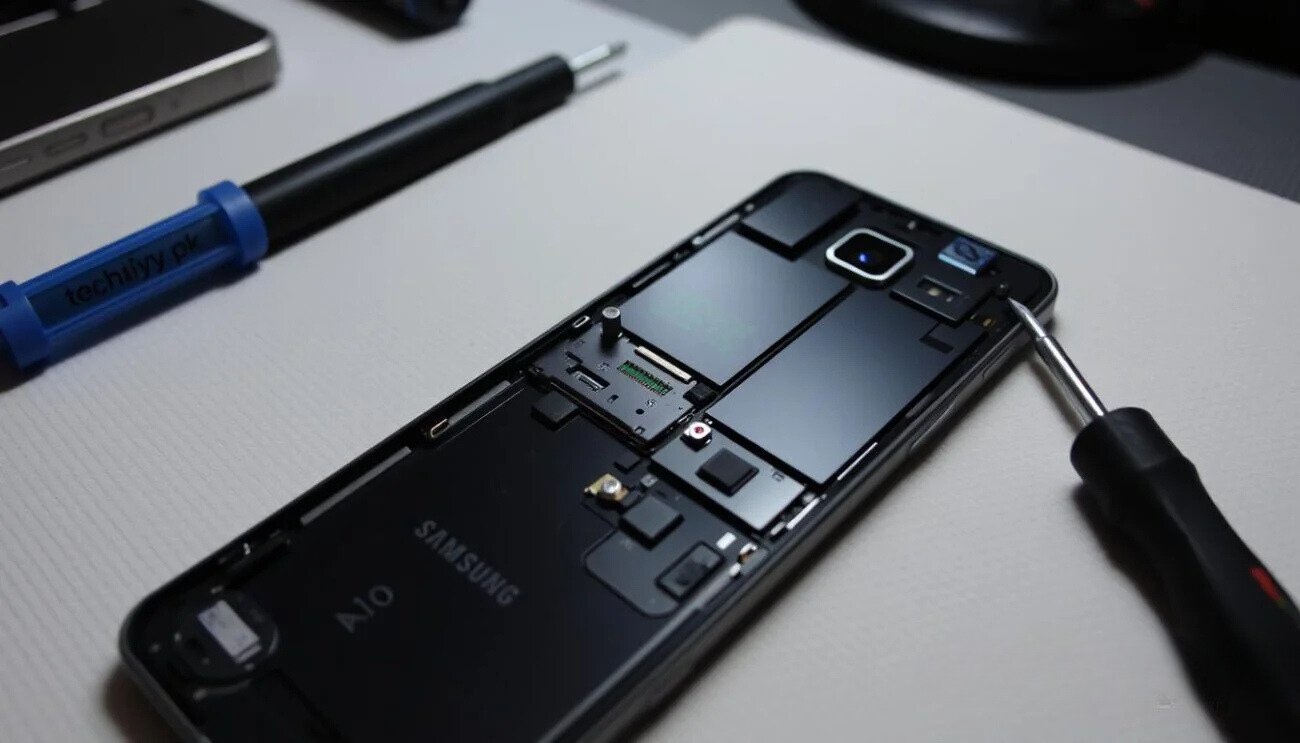
Preparing to repair the charging port on your Samsung A10 smartphone requires carefully disassembling the device. This step-by-step guide will walk you through the process of safely removing the back cover, battery, and other components to access the samsung a10 repair area.
- Power off your Samsung A10 and place it on a clean, flat surface.
- Using a plastic pry tool, gently release the back cover by starting from the bottom edge and working your way around the device.
- Disconnect the battery connector by lifting it straight up, taking care not to bend the pins.
- Remove the battery and set it aside in a safe place.
- Locate the screws securing the mid-frame and remove them using a precision screwdriver set.
- Carefully lift the mid-frame and disconnect the display and other ribbon cables attached to it.
- With the internal components exposed, you can now access the phone jack fix area, including the charging port assembly.
By following these steps, you’ll be able to safely disassemble your Samsung A10 and prepare it for the charging port replacement process. Remember to work slowly and carefully to avoid any damage to the delicate components.
“Patience and attention to detail are key when disassembling electronic devices like the Samsung A10.”

| Tool | Purpose |
|---|---|
| Plastic Pry Tool | Removing the back cover without damaging the device |
| Precision Screwdriver Set | Removing the screws securing the mid-frame |
| Tweezers | Handling and connecting delicate components |
Locating the Samsung A10 Charging Jack
Replacing the samsung charging port on your Samsung A10 smartphone requires a thorough understanding of its internal components and connection points. The first step is to locate the exact position of the charging jack within the device.
Port Assembly Components
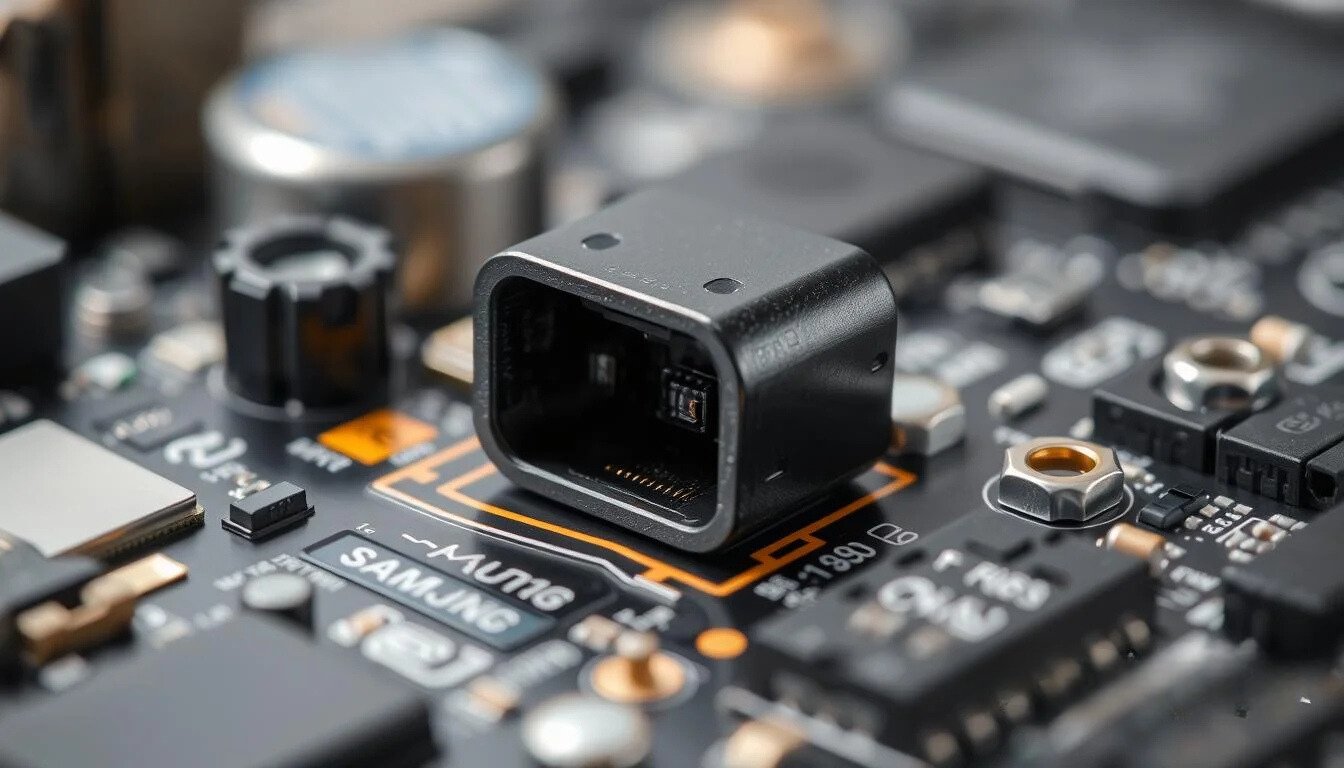
The samsung charging port on the Samsung A10 is part of a larger assembly that includes the following key components:
- Charging port connector
- Flex cable
- Soldering pads
- Mounting bracket
Connection Points Identification
To successfully replace the broken charging port, you’ll need to identify the specific connection points within the Samsung A10 where the charging jack assembly is attached. These include:
- Flex cable connection to the main board
- Soldering pads on the main board
- Mounting bracket attachment points
Carefully examining the internal layout of the Samsung A10 and understanding how these components fit together will be crucial for the samsung charging port replacement process.
“Proper identification of the charging jack’s connection points is essential for a successful samsung charging port replacement on the Samsung A10.”
Step-by-Step Charging Port Removal Process
Replacing the mobile phone jack or charging dock on your Samsung A10 can be a delicate process, but with the right approach, you can successfully remove the old port and install a new one. Let’s dive into the step-by-step guide to remove the mobile phone jack or phone charging dock from your device.
- Power off your Samsung A10 and remove the battery, if possible, to minimize the risk of electrical shock.
- Carefully remove the rear cover of the device, exposing the internal components.
- Locate the charging port assembly, which is typically situated near the bottom of the phone.
- Identify the connection points that secure the port to the motherboard. These may include small screws, adhesive, or delicate ribbon cables.
- Gently disconnect the charging port from the motherboard, taking care not to damage the surrounding components.
- With the port disconnected, you can now carefully extract it from the device, ensuring that no other parts are disturbed in the process.
Remember, the mobile phone jack replacement or phone charging dock removal process requires a delicate touch and attention to detail. Take your time, work slowly, and be mindful of the fragile components within your Samsung A10.
By following these steps, you’ll be able to successfully remove the old charging port and prepare your device for the installation of a new one. Stay tuned for the next section, where we’ll guide you through the process of installing the replacement phone charging dock.
Installing the New Charging Port
Once you’ve successfully removed the old usb type c port from your Samsung A10, it’s time to install the new charging jack. This process requires precision and care to ensure a secure and functional connection. Let’s dive into the key steps involved.
Alignment Techniques
Proper alignment is crucial when installing the new usb type c port on your Samsung A10. Take your time and carefully position the port, ensuring it aligns perfectly with the corresponding connection points on the device. A slight misalignment can result in connectivity issues or even damage the port.
Soldering Best Practices
Soldering the new usb type c port onto your Samsung A10 requires a steady hand and attention to detail. Use a high-quality soldering iron and solder, and apply just the right amount of heat to create a secure connection. Avoid using too much solder, as it can lead to short circuits or other problems.
- Heat the connection points on the device and the port leads to the appropriate temperature.
- Apply a small amount of solder to each connection, ensuring a clean and even finish.
- Inspect the connections carefully, making sure there are no gaps or bridges between the solder joints.
By following these alignment and soldering best practices, you can successfully install the new usb type c port on your Samsung A10 and restore the device’s charging capabilities.
Reassembly Tips and Techniques
After successfully replacing the Samsung A10’s charging port, it’s time to reassemble the device. This process requires careful attention to detail to ensure the proper placement and secure attachment of all components. Start by gently aligning the charging port assembly with the corresponding openings on the phone’s chassis. Apply a small amount of pressure to firmly seat the port, taking care not to damage any surrounding connections.
Next, reattach the battery and any other internal components that were removed during the disassembly process. Ensure that all cables are routed correctly and that there are no kinks or obstructions. Pay close attention to the alignment of the display and other delicate parts, as improper placement can lead to further issues. Once all components are in place, use the appropriate screws to secure the assembly, being mindful of the recommended torque settings to avoid over-tightening.
Finally, perform a comprehensive test to ensure the samsung a10 repair was successful. Check the charging functionality, as well as the overall operation of the device. If any issues persist, double-check your work and make any necessary adjustments before reassembling the phone’s exterior. With the right phone charging port repair techniques, you can restore your Samsung A10 to its full functionality.


